Configure Custom Fields Metadata Layers
Alation Cloud Service Applies to Alation Cloud Service instances of Alation
Customer Managed Applies to customer-managed instances of Alation
Available from version 2024.3.1
Important
You are viewing documentation for Alation’s Classic User Experience.
Users with the Server Admin or Catalog Admin role have the ability to configure the custom field metadata layers to be displayed on the Compound Layout view of lineage charts.
Important
Only the single-select Picker type of custom fields can be used in this configuration.
Prerequisite
Create the single-select Picker fields that you want displayed on lineage charts as custom field metadata layers. See Create or Edit a Custom Field.
Add the custom fields to the templates of the relevant object types. See Edit a Template.
Set the field values on the objects for which you’ll be viewing lineage.
Important
If a custom field value has been set via a catalog set, it won’t appear on lineage charts.
Create Custom Field Metadata Layers
Click the gear icon in the top right corner of the page. The Admin Settings page will open.

In the search bar on top of the Admin Settings page, search for Lineage Settings. Alternatively, you can locate the Lineage Settings tile under Platform Settings. Click Lineage Settings to open that page.
Click the three gears icon in the top right corner of the page.
Depending on your role, open the lineage settings page:
Server Admins: Clicking on the three gears icon opens the Admin Settings page. In the Catalog Admin section, click Customize Catalog, and then click the Lineage tab to open lineage setting.
Catalog Admins: Clicking on the three gears icon opens the Admin Settings menu for Catalog Admins. Click the Customize Catalog item in the menu. You’ll be navigated to the Customize Catalog page. Click the Lineage tab to open lineage settings.
On the Lineage Settings tab, click Custom Field Label to open that tab.
Click Add Label. The Add Custom Metadata Label dialog opens.
From the Select Custom Field list, select the custom field you’re creating the metadata layer for. The list only displays single-select Picker fields.
After you select a field, the dialog will display Option States, allowing you to create color-coded labels for the values of the field. Each value can be assigned its own colored state. The Preview area shows examples of what’s currently being configured.
Click on the color picker square for an option state and select a color.
Click outside on the color picker to close it.
Click Done to save the metadata layer. It’ll appear in the Manage Labels table.
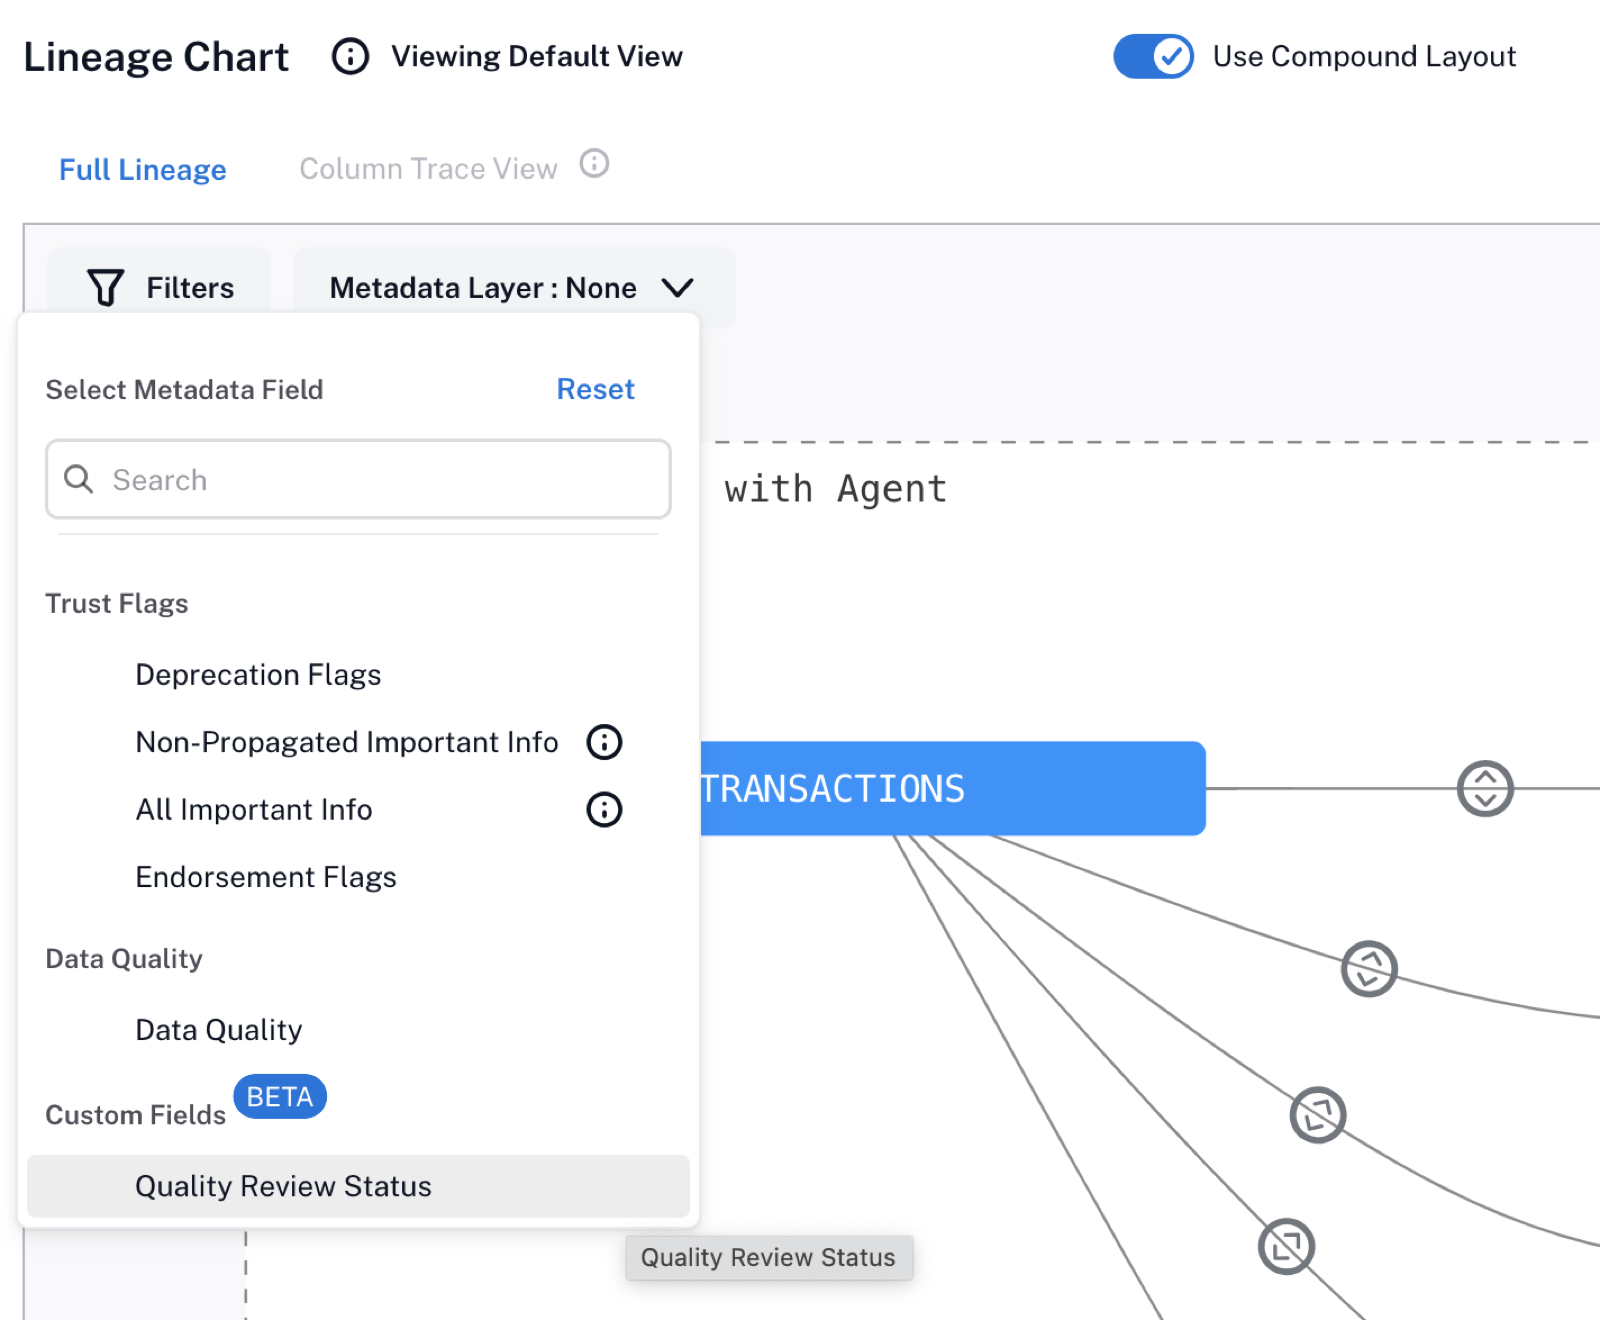
On lineage charts, users will be able to select this metadata layer from the list of Custom Fields in the Metadata Layers menu.

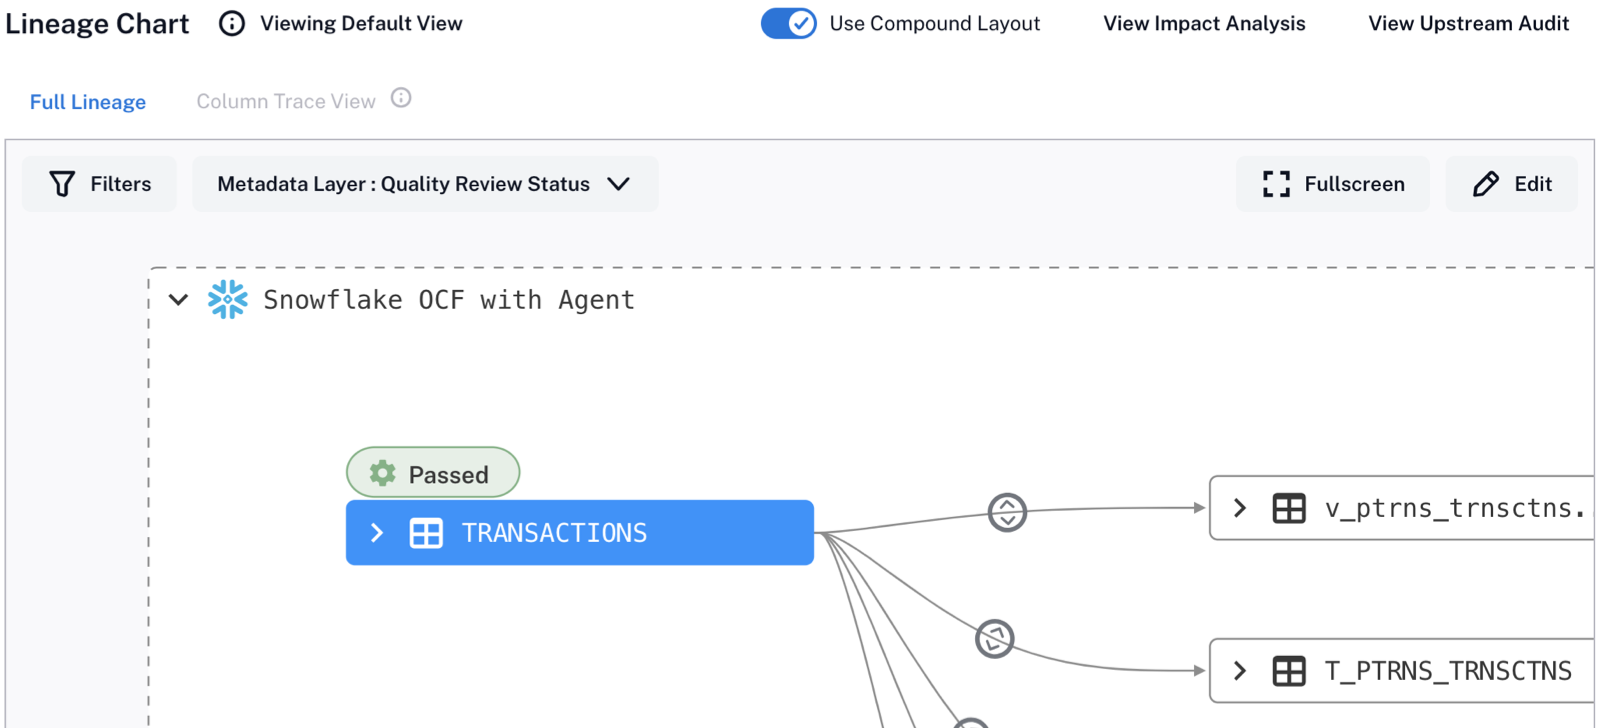
The colored labels will appear on top of the relevant lineage nodes.

Manage Custom Field Metadata Layers
You can update or delete custom field metadata layers:
To edit a layer, click the pencil icon for this layer.

This brings up the Add Custom Metadata Label dialog. See Create Custom Field Metadata Layers on how to edit Option States.
Note
You cannot change the custom field selected in the layer.
To delete a layer, click the trash can icon for this layer. In the confirmation dialog that pops up, click Confirm to remove the layer.


